
A pest problem rarely arrives with a perfect label. You may notice a few ants near the sink, a roach in the garage or signs of rodents before you know exactly what caused them. The most useful response is a calm sequence: identify the pest, remove what attracts it, select a treatment that matches the location and monitor the result. DIY Pest Control makes that process easier because its catalog is organized around real pest and property problems, with professional-grade products, kits and visible starting prices.
This guide shows how I would work through a typical American home. Use the DIY Pest Control catalog to compare formats and current availability, then read every product label before applying anything. If the problem involves structural damage, a large infestation or a regulated pest, bring in a licensed professional.
Step 1: Inspect before you treat
Start with a ten-minute inspection rather than reaching for the strongest-looking product. Look under sinks, behind appliances, around door thresholds, along garage walls and where pipes enter the house. Note the pest, the approximate number, the time of day and whether you see droppings, shed skins, trails or damaged packaging. This gives you a useful baseline and keeps a small issue from turning into a room-wide chemical experiment.
- Identify the pest: compare body shape, color, tracks and feeding damage.
- Mark the hotspot: record the room, crack, cabinet or exterior edge.
- Check moisture: fix leaks and dry damp areas where possible.
- Protect people and pets: plan where treated items will be placed.
For ants, follow the trail back toward its entry point. For roaches, inspect warm, dark gaps and avoid spraying directly over bait placements. For rodents, look for gnawing, rub marks and openings larger than you would expect. The pest identification resources can help you match the observation to a treatment category before you shop.
Step 2: Match the treatment to the room
The best product is the one that fits the pest, surface and application area. A gel bait can make sense for small cracks and crevices, while a granular or liquid treatment may suit an exterior perimeter. Always follow the label for application rate, ventilation, food-contact surfaces and re-entry time. Placement beats excess: more product does not automatically mean better control.
- Choose an indoor or outdoor product according to the treatment site.
- Check whether the formula targets the pest you identified.
- Measure the area and calculate the amount required.
- Read storage, disposal and protective-equipment instructions.
- Keep a note of the date so you can monitor changes.
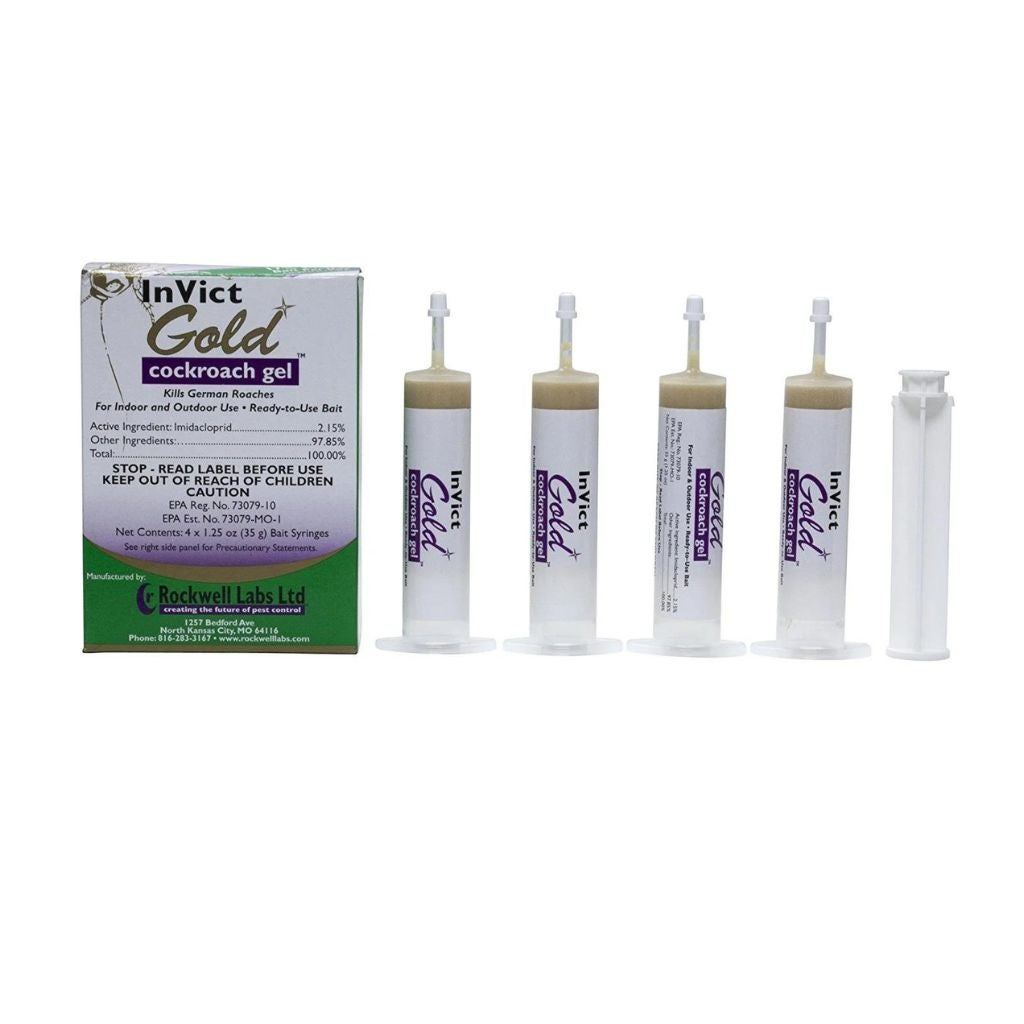
For a kitchen or utility-room roach issue, InVict Gold Roach Gel is a concrete option to investigate. The listing showed a $12.55 starting price and a syringe format suited to targeted cracks and crevices. Use the product page to confirm the current package and label directions, and place small amounts where roaches travel rather than across open counters.
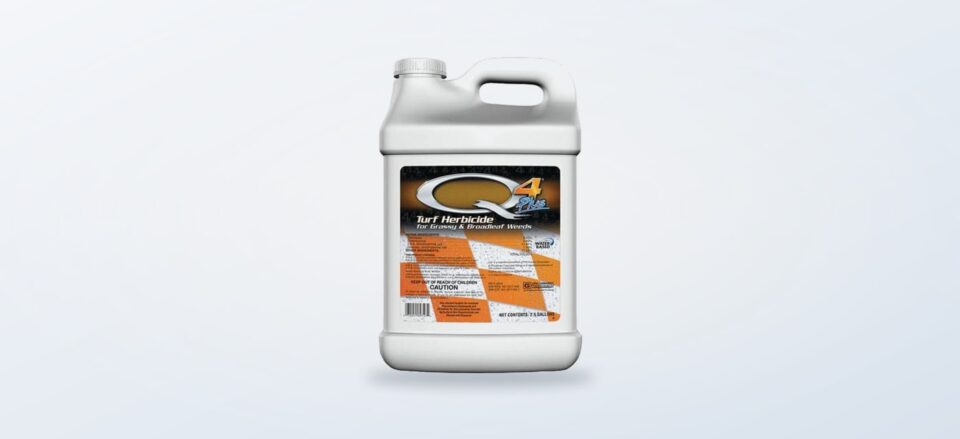
For turf weeds, Q4 Plus Turf Herbicide QT is a different kind of problem-solver. It appeared with a $56.96 starting price and is designed for turf herbicide use. That makes it relevant to a lawn plan, not an indoor insect treatment. Check the label for compatible grass types, weather conditions and application equipment before use.
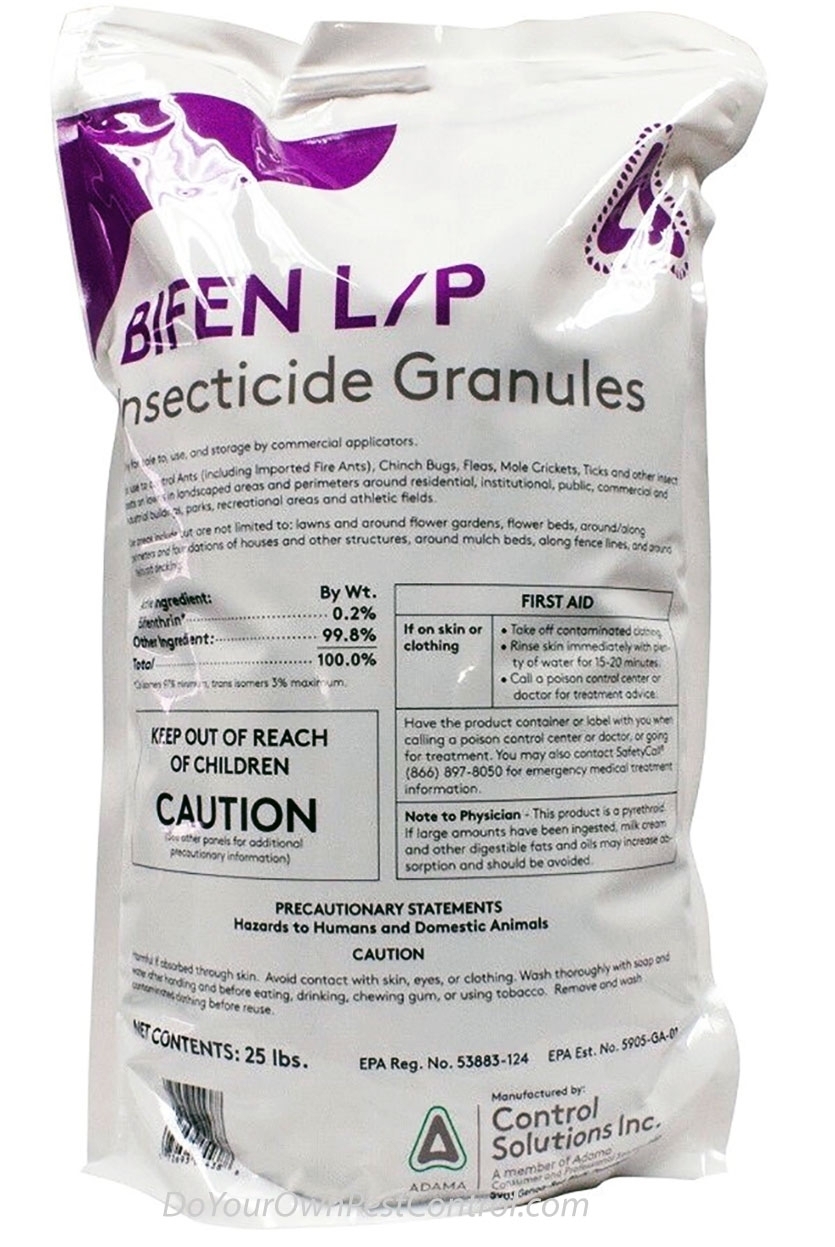
When comparing options, use the turf and outdoor treatment range to check container size, active ingredients and application notes. The practical decision is not simply the lowest sticker price. It is the combination of correct target, correct setting and manageable coverage.
Step 3: Create a perimeter and remove attractants
Once the immediate hotspot is addressed, work outward. Seal gaps around utility lines, repair screens, move firewood away from the foundation and trim vegetation that touches siding. Indoors, store dry goods in closed containers, wipe food residue and empty bins regularly. These habits are not glamorous, but they make a treatment last longer by reducing the reasons pests return.
- Seal visible openings with a suitable material.
- Correct leaks and improve airflow in damp spaces.
- Keep mulch, leaves and debris away from the foundation.
- Store pet food and bird seed in sealed containers.
- Recheck the original hotspot after cleaning.
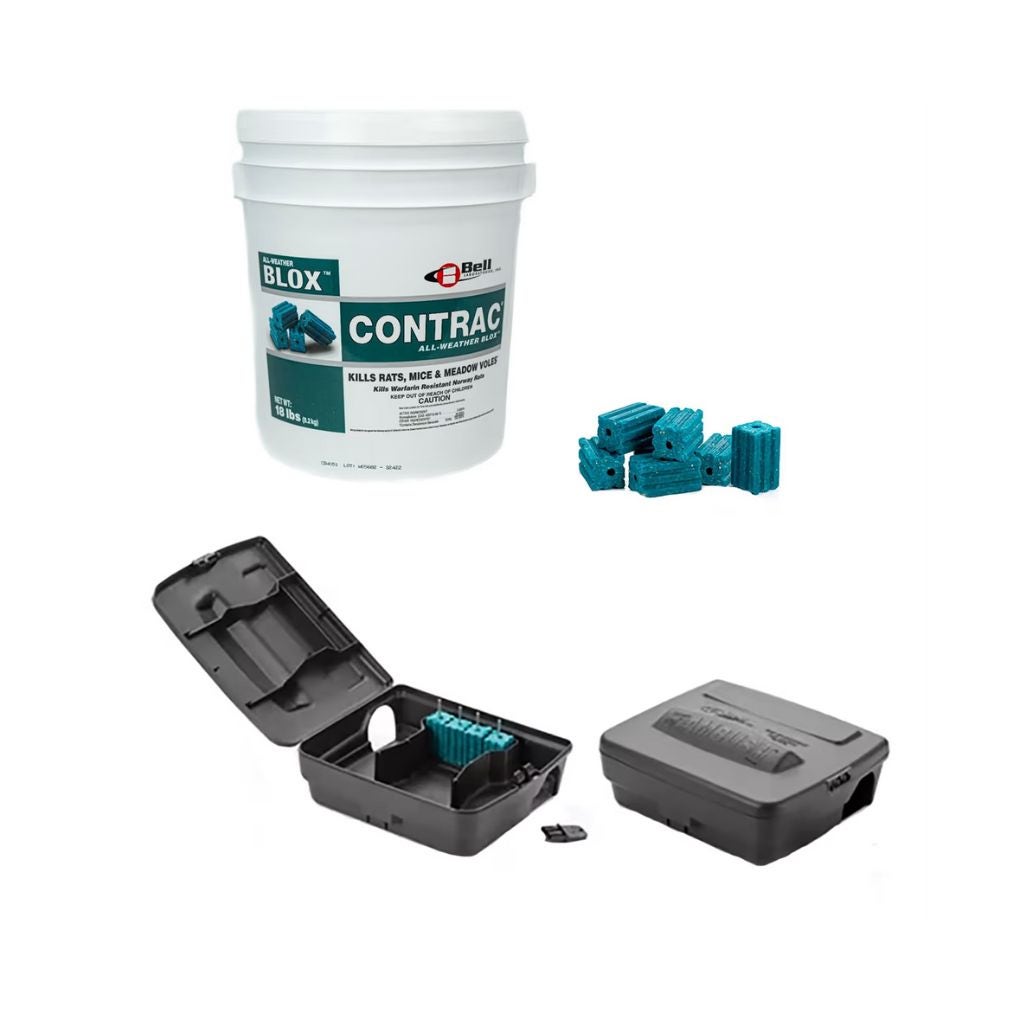
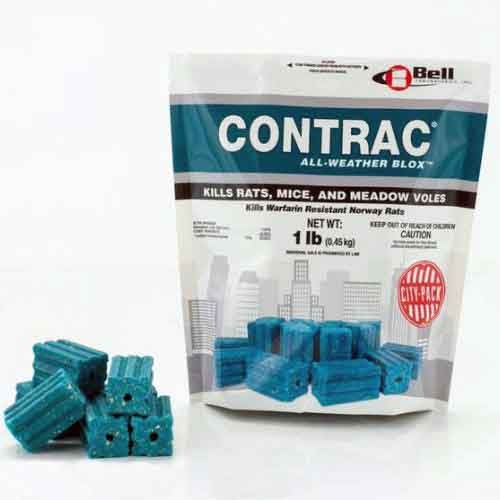
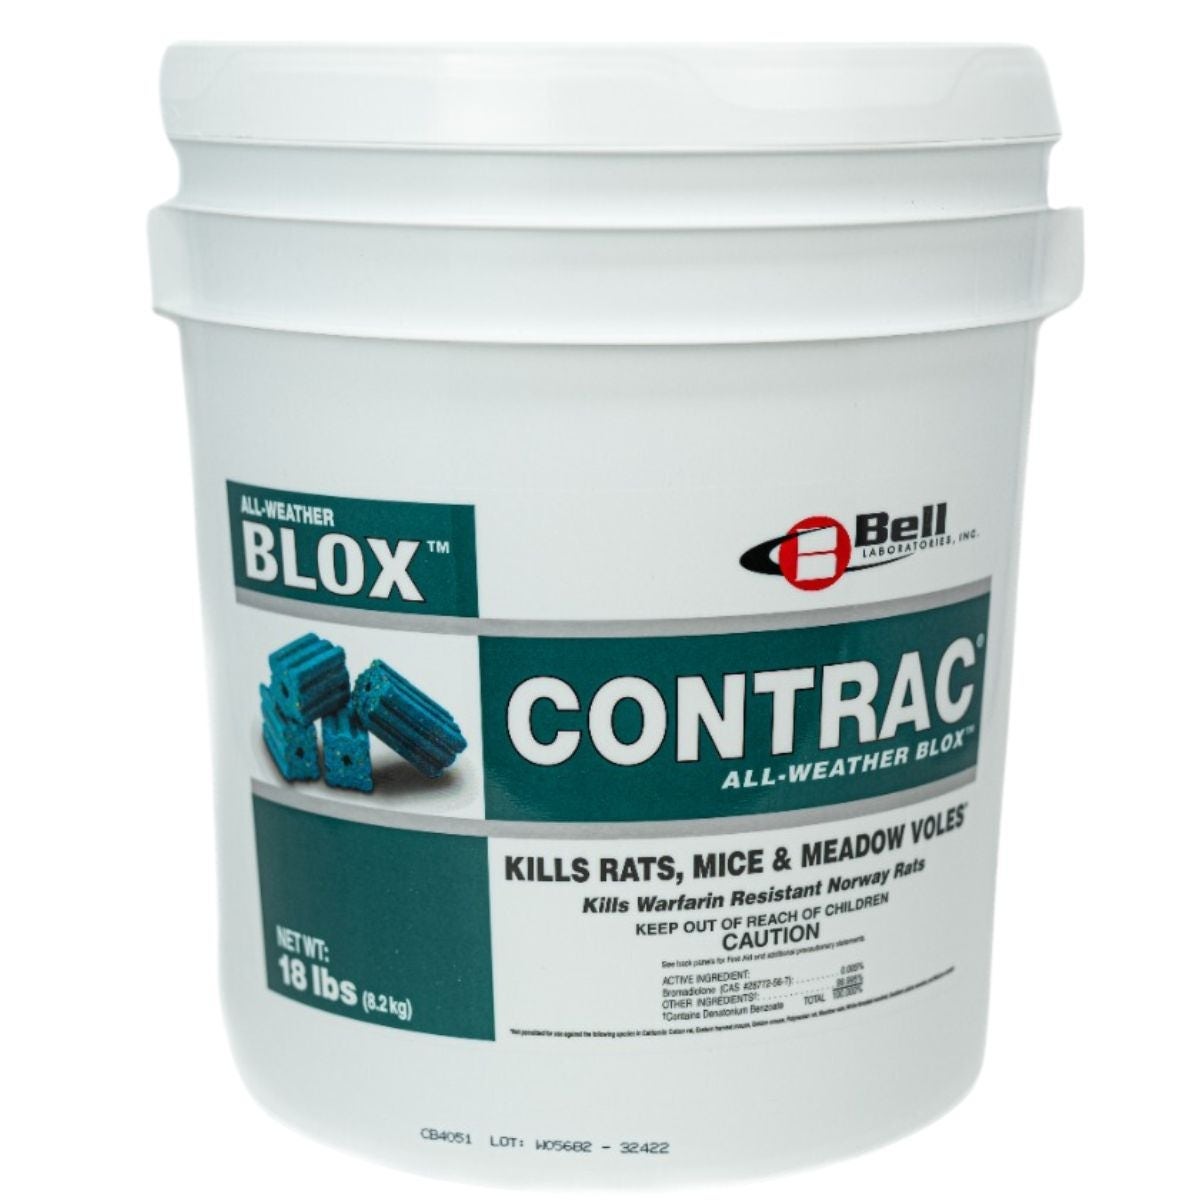
For rodents, plan the exterior and interior together. Contrac Blox Rodent Bait was listed at $114.55 starting at and is a block-style bait option to evaluate for an appropriate bait-station program. Do not leave rodent bait loose where children, pets or wildlife can reach it. The product page and label should decide the station type, placement and inspection schedule.
Step 4: Use a kit when the problem crosses zones
A kit can be useful when one pest is moving between several areas or when you need complementary tools. Before choosing one, list the rooms involved and decide whether the treatment is for prevention, active control or both. Ambush Contrac Kit is a useful example to compare for a rodent situation because it groups bait and station-related components. Its current price should be confirmed on the product page.
- Kitchen: focus on food storage, cracks and plumbing access.
- Garage: inspect doors, stored boxes and wall penetrations.
- Attic or crawl space: look for droppings, nesting material and gaps.
- Exterior: map the foundation and likely travel routes.
Use the rodent-control collection to compare a kit with individual items. A kit is not automatically the right answer, but it can reduce guesswork when the room-by-room plan calls for several compatible placements. If you already own stations, buying only the appropriate bait may be more economical.
Before placing anything, compare station and bait formats, check the number of placements required and keep the receipt or product notes. This small bit of organization makes follow-up much easier.
Step 5: Monitor, document and adjust
Give the treatment time to work according to its label, then inspect the same locations on a schedule. Take a quick photo or write down what changed. Fewer sightings, untouched bait and fresh activity each tell a different story. If activity continues, do not simply increase the dose. Recheck identification, entry points, sanitation and whether the product was used in the correct location.
- Inspect after the label’s recommended interval.
- Record new sightings and signs in the same rooms.
- Replace or reposition items only as directed.
- Seal a newly discovered gap or food source.
- Escalate persistent or hazardous problems to a professional.
For larger properties, Contrac Blox can be compared with other rodent products by package size, station compatibility and the number of locations you need to service. For lawn projects, revisit the Q4 Plus listing and confirm seasonal restrictions before reapplying. The goal is a repeatable routine, not a one-day scramble.
A simple shopping checklist
Before placing an order with DIY Pest Control, I would check five things:
- Target pest and treatment location are an exact match.
- Package size fits the area and expected frequency.
- Application tools and protective equipment are available.
- Children, pets, food and water can be kept away safely.
- Price, shipping details and label instructions are clear.
The store’s full product range is most useful when you arrive with that checklist. Review the InVict Gold details for a targeted indoor option, the Q4 Plus details for turf use and the Contrac Blox details for a rodent plan. Those concrete comparisons make the brand a natural starting point for a measured DIY approach.
FAQ
Is DIY Pest Control suitable for a first treatment?
It can be a practical starting point when the pest is identified, the affected area is limited and you can follow the label exactly. Start with inspection and prevention, then choose a targeted product rather than treating every room.
How do I choose between a kit and one product?
Choose a kit when the same issue crosses several zones and you need compatible components. Choose one product when the hotspot is specific and you already have the necessary application or station equipment.
What should I confirm before ordering?
Confirm the target pest, application site, package size, current price, safety directions and any restrictions for your property. If the signs suggest termites, extensive rodents or a dangerous exposure, contact a licensed pest professional.
A clear plan turns pest control into a manageable home-maintenance task. Inspect first, choose for the exact room, remove attractants and monitor the result. When you are ready to compare the relevant options, visit DIY Pest Control and build the smallest effective treatment plan.